
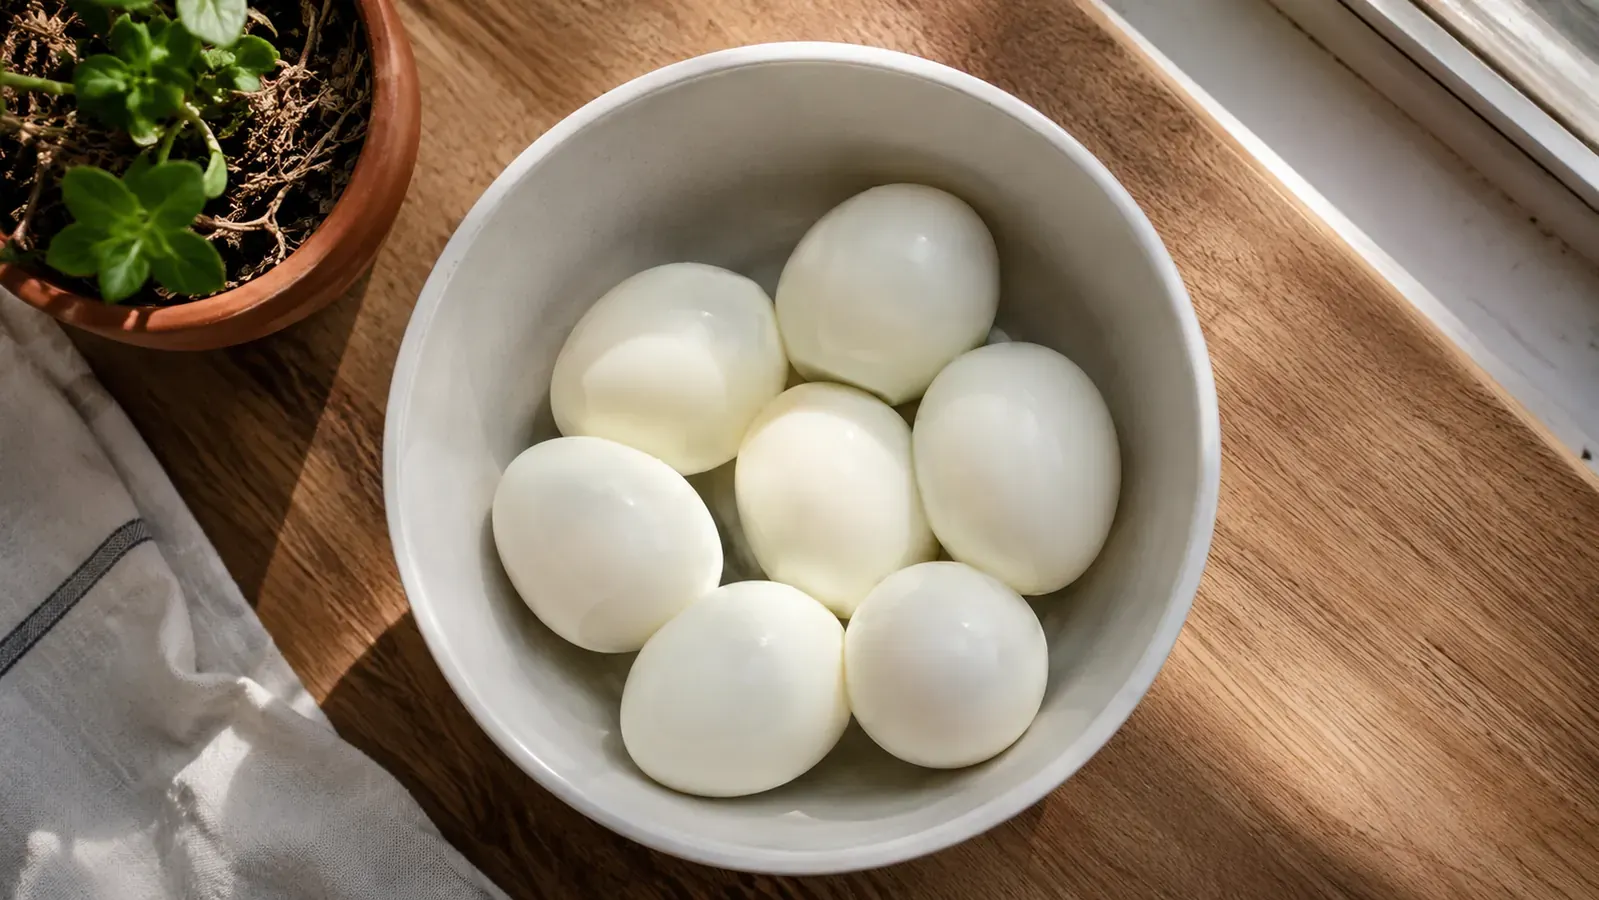
I have cooked a lot of hard-boiled eggs over the years. I have also botched a lot of them. Rubbery whites from overcooking. Greenish-gray yolks from leaving them in the pot too long. Shells that stuck so stubbornly they took half the white with them when you peeled. If you have been relying on the stovetop method and playing guessing games with your timer, I want to show you a better way.
An electric egg cooker removes the guesswork entirely. You measure water once, press a button, and walk away. When the buzzer goes off, you have eggs cooked to a consistent doneness every single time. The one I use and trust is the Dash Rapid Egg Cooker. It holds up to seven eggs, costs around the same as a lunch out, and has been sitting on my counter for over a year without a single bad batch. This guide walks you through the whole process, from cold egg out of the carton to perfectly peeled, ready-to-eat results.
Stop guessing with pots and timers. Here is the tool that gets it right every time.
The Dash Rapid Egg Cooker handles up to 7 eggs at once, includes the measuring cup you need, and is dishwasher safe. Over 136,000 reviews back this up.
Amazon Check Today's Price on Amazon →Step 1: Start with the Right Eggs
Before you even touch the cooker, think about your eggs. Counterintuitively, eggs that are a week or two old peel significantly easier than eggs you just bought. Fresh eggs have a lower pH in the white, which causes it to bond more tightly to the membrane inside the shell. If your carton came in this morning, give it a few days in the fridge before you hard-boil. This single tip will save you more frustration than any gadget trick I can offer.
Pull your eggs from the refrigerator cold. Do not let them come to room temperature first. The Dash egg cooker is designed to work with cold eggs, and the water measurement on the included cup is calibrated to match cold egg timing. Starting with warm eggs will throw off the water ratio and result in under-cooked yolks.
Inspect each egg for cracks before loading. A cracked egg will leak into the cooker, make a mess on the heating plate, and result in a tough, uneven white. Takes five seconds and saves you cleanup.
Step 2: Pierce the Large End of Each Egg
The Dash egg cooker includes a small pin on the underside of the measuring cup. This is not decorative. Use it. Press the pointed end firmly into the wide bottom of each egg before you load the tray. You will feel a slight give when it punctures the shell. What you are doing is releasing the air pocket that sits in the rounded end of every egg. When that air expands under heat without an escape route, it can crack the shell mid-cook or create a dent in the finished egg white. Piercing prevents both.
Apply steady pressure straight down. Do not jab at an angle or you risk shattering the shell. One clean puncture is all you need. If you poke too hard and crack the shell, set that egg aside and use it for something else.
Step 3: Measure the Water and Fill the Heating Plate
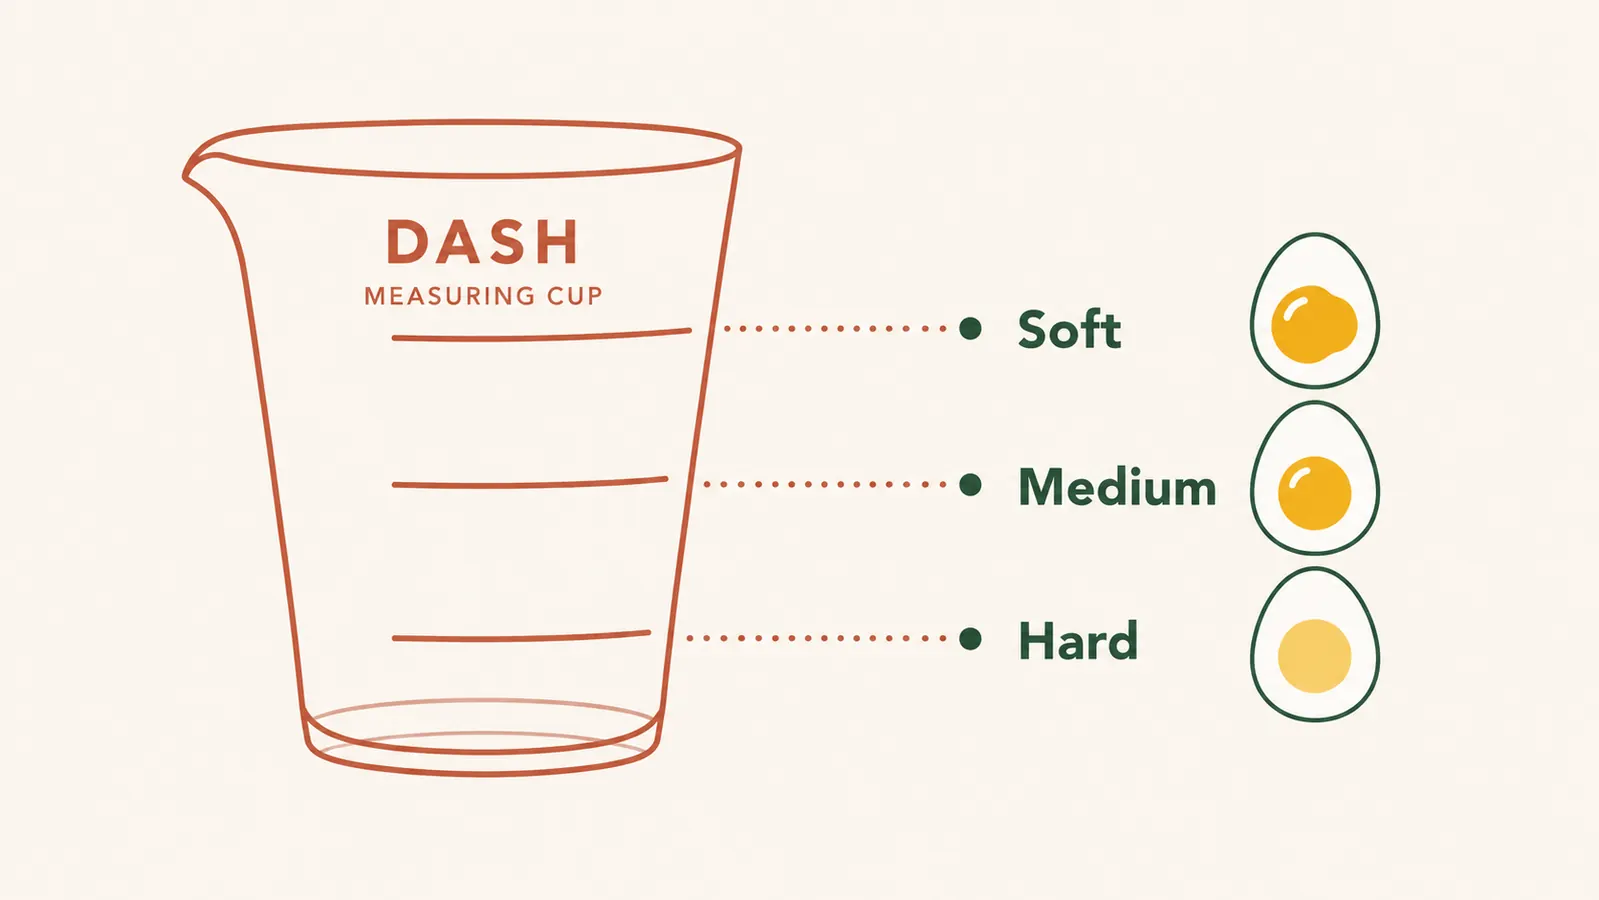
This is the most important step, and also the one that trips up new users most often. The amount of water you add to the heating plate controls how done your eggs turn out. More water means more steam time, which means longer cooking. Less water means less steam, which means a softer center. The Dash measuring cup has three fill lines on the side: one for soft, one for medium, one for hard. For hard-boiled eggs, fill to the line marked hard.
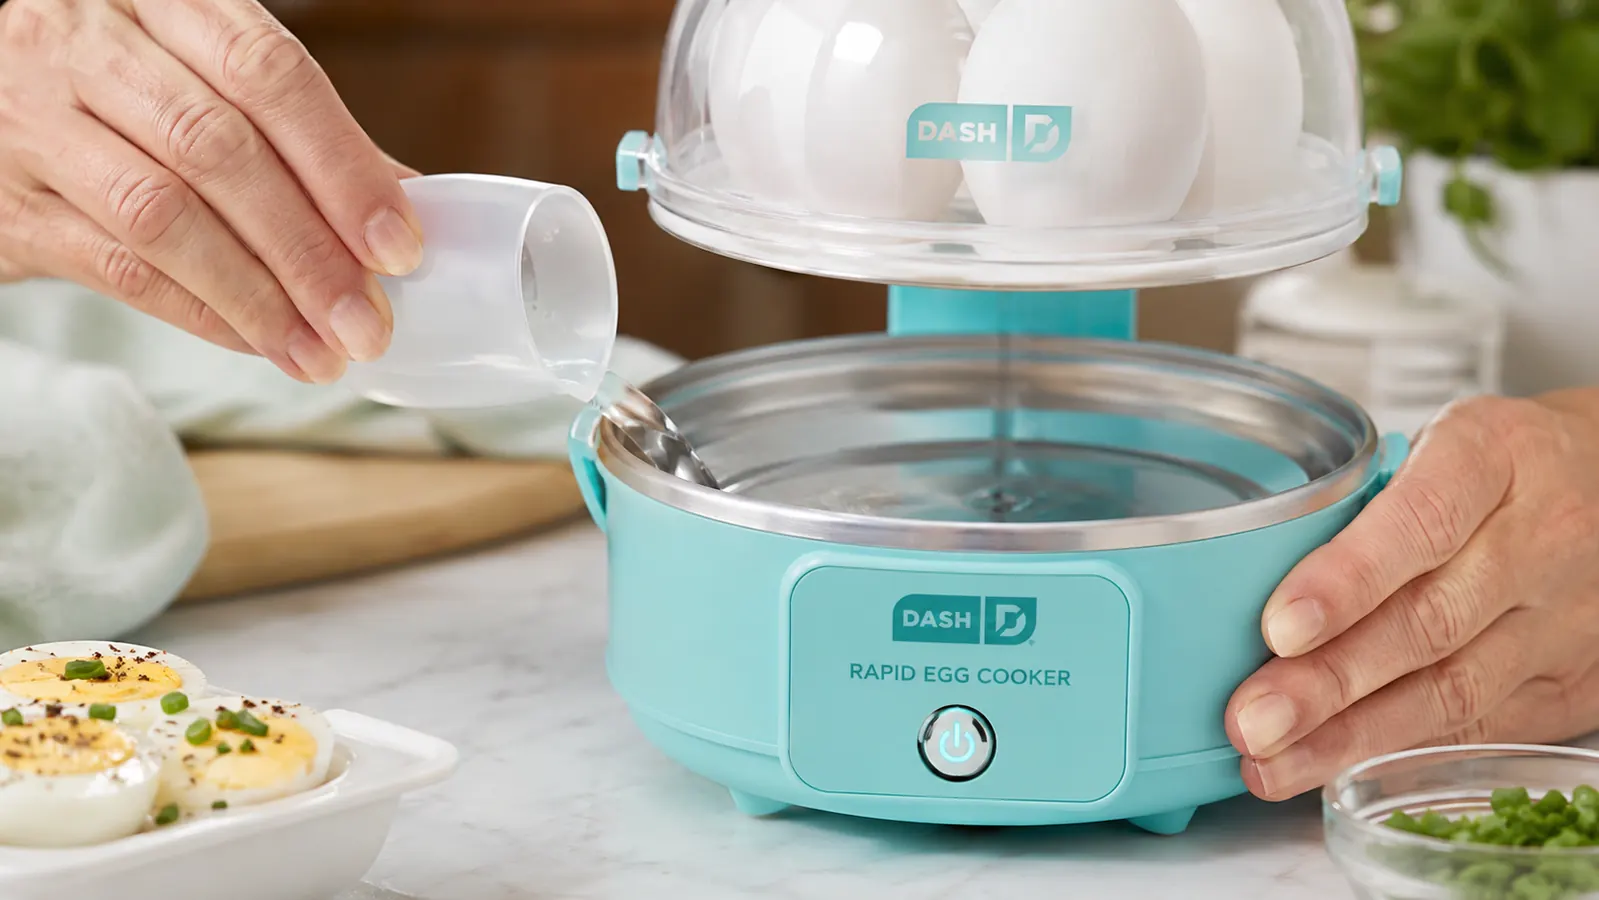
Pour the measured water directly into the center well of the heating plate. Do not pour it into the egg tray. The well is the shallow recessed area in the middle of the metal base. When the cooker heats up, that water converts to steam and cooks the eggs from below. Use filtered or tap water, whichever you have. Mineral buildup from hard water can scale the heating plate over time, so if you live in a hard water area, a quick wipe with white vinegar every few weeks keeps it clean.
Note that the water line markings on the cup also correspond to the number of eggs you are cooking. A full batch of seven needs more steam to cook through than two eggs do, so the fill line accounts for that. The cup is labeled clearly. Follow it, and you do not have to memorize anything.
Step 4: Load the Tray and Start the Cooker
Set each pierced egg, wide end down, into the egg tray holes. The pierced end should point downward toward the heating plate. This helps moisture release through the tiny hole you made and further reduces the chance of cracking. The tray holds seven eggs in the Dash cooker, but you can cook fewer if you need to. A partial batch is perfectly fine; the water measurement is the controlling variable, not the number of eggs.
Set the loaded tray on top of the base, covering the heating plate and water. Plug in the cooker and press the power button. That is genuinely it. The unit does not have a timer dial or a temperature knob. It monitors the steam pressure internally and sounds a buzzer when the water is spent and the eggs are done. You do not stand over it. You do not check. You go make coffee or start on the rest of your breakfast.
The buzzer is your cue, not a suggestion. Move the eggs to ice water the moment you hear it or they will keep cooking from residual heat.
Step 5: Move Eggs to an Ice Bath Immediately
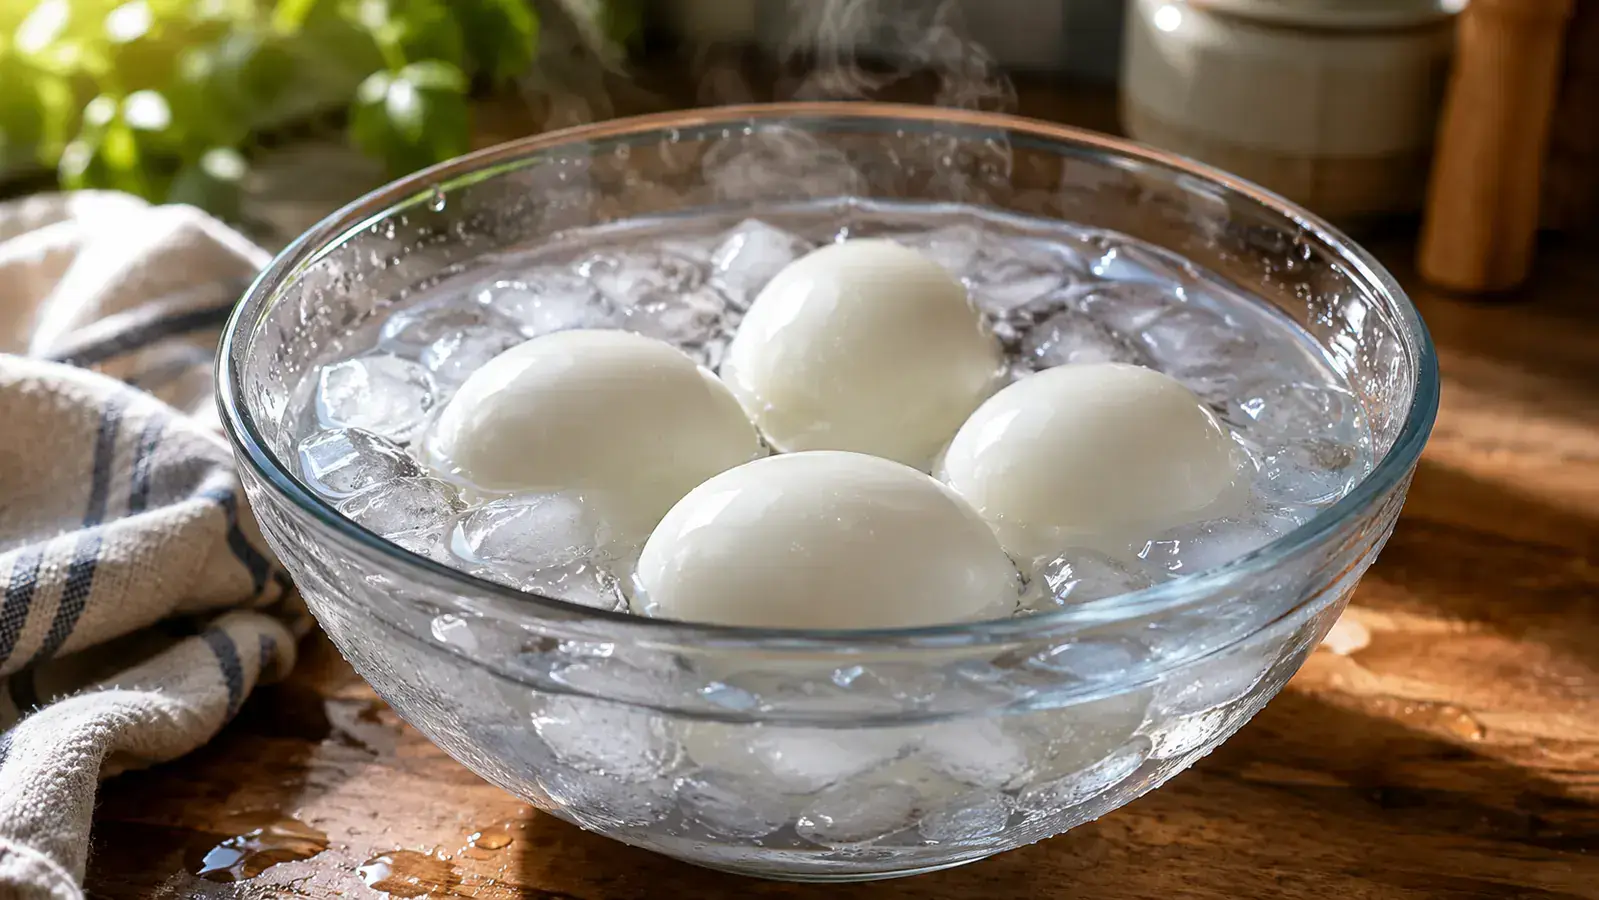
When the buzzer sounds, unplug the cooker and transfer the eggs to a bowl of ice water right away. This is the step most people skip, and it is the reason they get greenish-gray yolks. That discoloration is not a food safety issue, but it is a sign of overcooking. The sulfur in the white reacts with the iron in the yolk when the egg stays hot too long. An ice bath stops the cooking process in about 60 seconds.
Use a real ice bath, not just cold tap water. Cold tap water slows things down but does not stop cooking as quickly. Fill a bowl with ice and pour cold water over it until the ice is just submerged. Drop the eggs in using a spoon and leave them for a minimum of five minutes. Ten minutes is better if you have the patience. The eggs will be cool enough to handle comfortably and the membrane between the shell and the white will have contracted slightly, which makes peeling far easier.
Step 6: Peel and Store Your Eggs
After the ice bath, peel under a thin stream of running water. Crack the wide end first, where the air pocket was, then work your thumb under the membrane and peel in strips moving toward the narrow end. The shell should come away cleanly in three or four pieces. If you are fighting it, the egg either needs more time in the ice bath or the eggs were too fresh. Either way, the Dash cooker did its job.
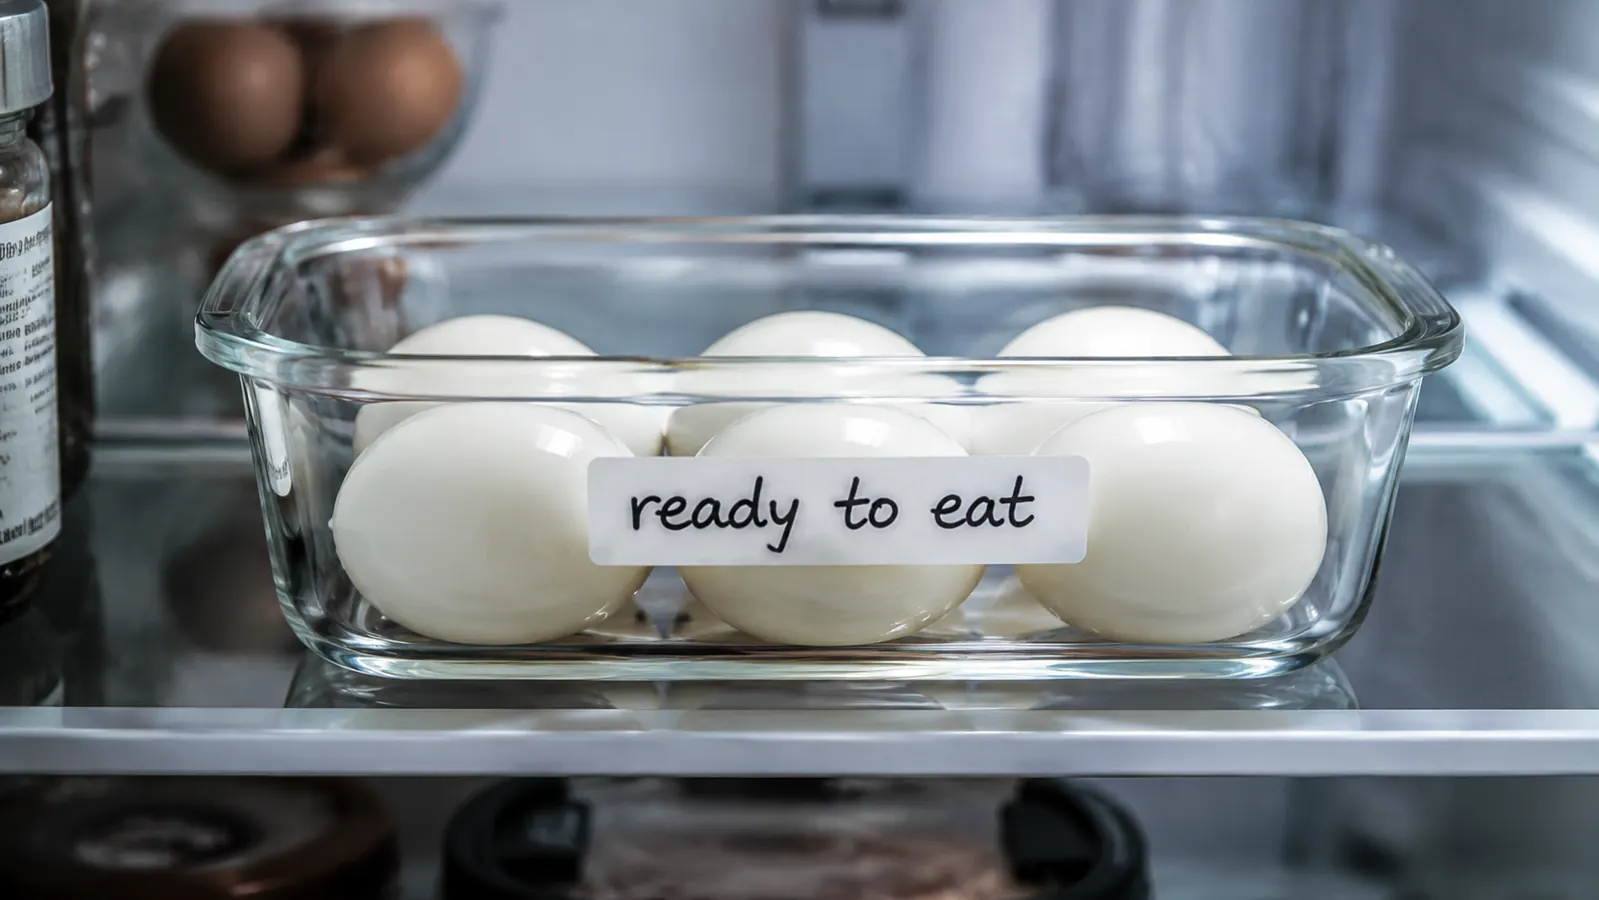
Store peeled eggs in a sealed container in the refrigerator and use them within five days. If you are meal prepping for the week, I recommend storing a few with the shell on and peeling as you go. Unpeeled hard-boiled eggs last up to a week in the fridge and the shell helps protect the white from absorbing odors. Mark the container with the cook date so you do not have to guess later.
What Else Helps: Soft-Boiled and Poached Eggs in the Same Cooker
The Dash Rapid Egg Cooker is not just for hard-boiled eggs. It handles soft-boiled and poached eggs with the same fill-line system. For soft-boiled, fill to the soft line and use the same process above. You will get a set white with a jammy, slightly runny yolk that works beautifully on toast or ramen. For poached, the cooker includes a small poaching tray. Crack your eggs into the cups, fill water to the poach line, and you get round, tidy poached eggs without the swirling vinegar-in-water technique that takes years to master on the stovetop.
I use all three modes regularly. Hard-boiled on Sunday for the week's lunches, soft-boiled for weekend breakfasts, and poached when I want something that looks like I put in more effort than I did. One small appliance covers all three, and it takes up no more counter space than a large mug. For what it costs and what it reliably delivers, it is one of the kitchen tools I would buy again without a second thought. My full take is in the long-term Dash egg cooker review if you want to know how it held up after a full year of use.
If you are still on the fence about whether an electric egg cooker is worth owning versus just sticking with the stovetop, the 10 reasons an egg cooker earns its counter space breaks down the practical argument in plain terms. Short version: consistency alone makes it worth it for anyone who eats eggs more than once a week.
Seven eggs, one button, perfect results. The Dash Rapid Egg Cooker does exactly what it promises.
Comes with the measuring cup, egg tray, poaching tray, and omelet bowl. BPA-free, dishwasher safe, and available in a handful of colors. Rated 4.6 out of 5 across more than 136,000 reviews.
Amazon Check Today's Price on Amazon →