
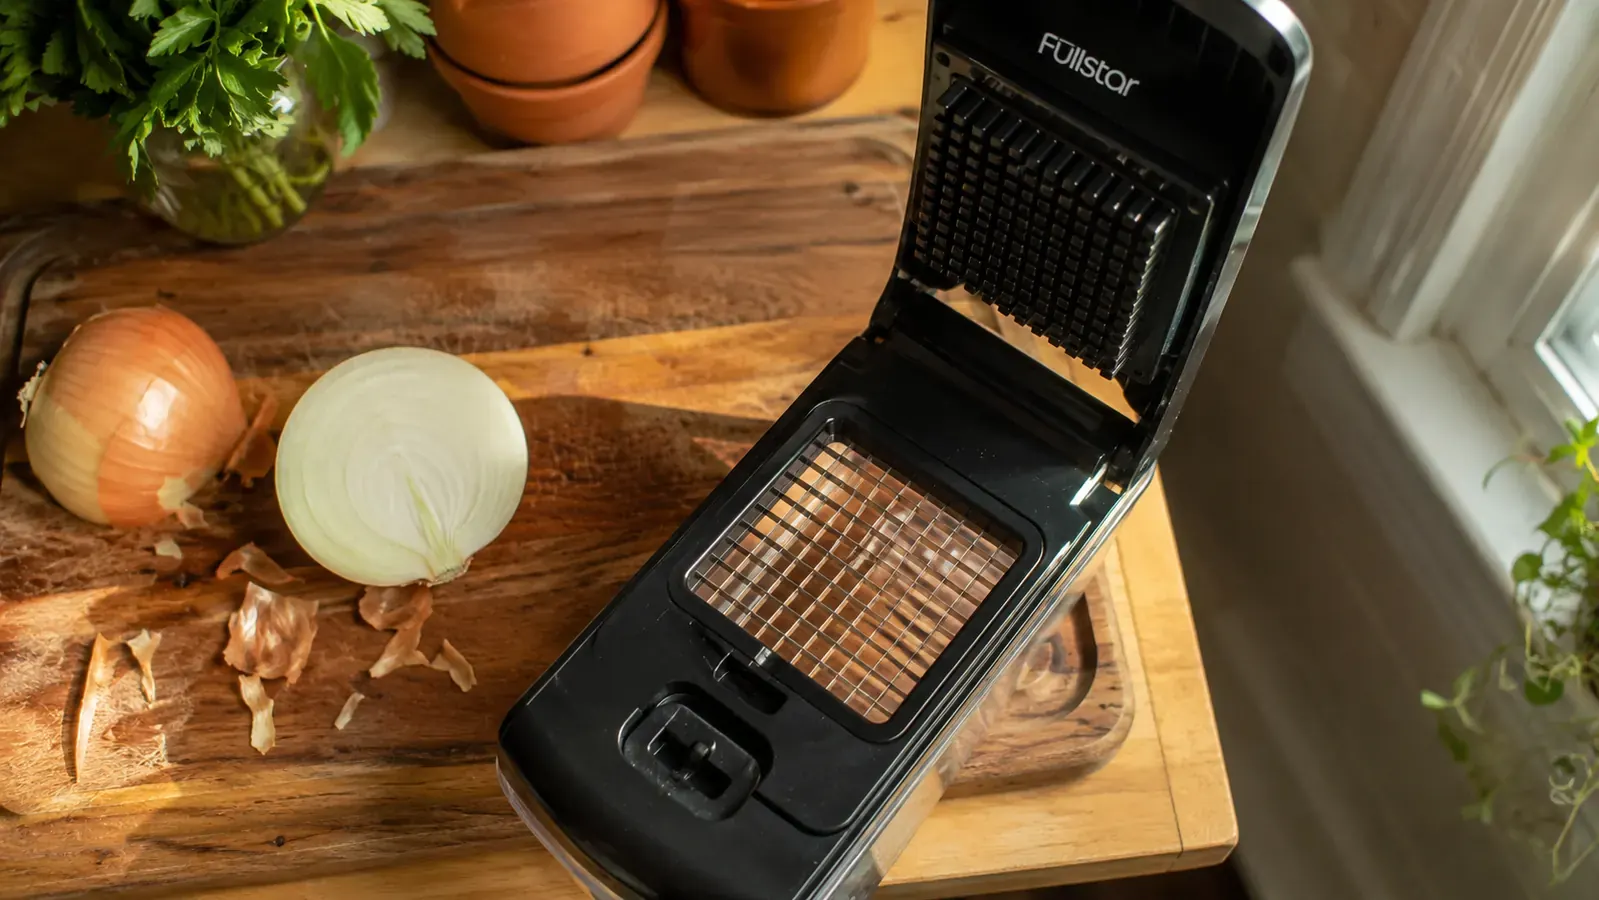
Every cook I know has a story about onions. Mine involves a pot of chicken soup I abandoned halfway through because my eyes were burning so bad I could not see the cutting board. I stood there, 58 years old, crying into my kitchen sink over a single yellow onion. That was the day I finally bought a vegetable chopper, and I have not cried over an onion since. The reason is simple: the chopper does the cutting in a single fast push, and your eyes spend almost no time near the volatile compounds the onion releases. Less contact time equals fewer tears. It is not magic, it is just physics.
This guide walks through exactly how to use the Fullstar Pro Chopper to dice onions quickly and cleanly, plus how to handle peppers, celery, and other aromatics the same way. If you have been putting off buying one because you thought knifework was something you just had to suffer through, I want to change your mind today.
Tired of squinting through onion tears every time you cook?
The Fullstar Pro Chopper (4.5 stars, 128,000+ reviews) dices a whole onion in one press. That means your eyes stay away from the volatile compounds for almost the entire job. It ships with a built-in container so the diced pieces go straight from chopper to pan.
Amazon Check Today's Price on Amazon →Step 1: Set Up Your Chopper on a Non-Slip Surface
Before you touch an onion, get your chopper stable. Put it directly on the counter, not on a cutting board. A wooden board can flex under the pressing motion and give you uneven cuts. If your counter is slick tile or granite, lay a damp kitchen towel underneath the chopper base first. The container snaps onto the blade housing with a firm click. Give it a light pull after you snap it to confirm it is seated, because if it is loose, the container can shift mid-press and spill your pieces.
The Fullstar Pro Chopper comes with two blade grids: a larger one for rough chops and a smaller one for a fine dice. For onions, I almost always reach for the smaller grid. It gives you pieces small enough for mirepoix, sofrito, or any recipe that calls for a standard half-inch dice. Swap the grid by pressing the side tabs on the lid assembly and lifting it straight up.
Step 2: Prep the Onion Before It Hits the Blade
Good prep is what separates clean, even pieces from a ragged mess. Start by cutting off the top of the onion (the pointed end, not the root end). Leave the root end intact for now because it holds the layers together and keeps your hand away from the blade when you halve the onion. Peel away the papery outer skin and the first waxy layer underneath it. That outer layer does not dice cleanly and tends to slide across the blade grid rather than cut through it.
Now cut the onion in half from top to root. Each half should be flat on the cut face. Trim off the root end. You now have two flat-faced onion halves, each roughly the right size for a single press of the chopper. Most medium yellow onions fit perfectly. Large sweet onions may need to be quartered first. If the onion half is bigger than the blade grid opening, it will push back rather than cut through, and you will get a mushy edge rather than a clean dice.
One more thing: cold onions release fewer volatiles than room-temperature ones. If crying has been your main problem, stash your onions in the fridge for 30 minutes before you cook. Between the cold and the fast press technique, you will notice an immediate difference.
Step 3: Position and Press in One Smooth Motion
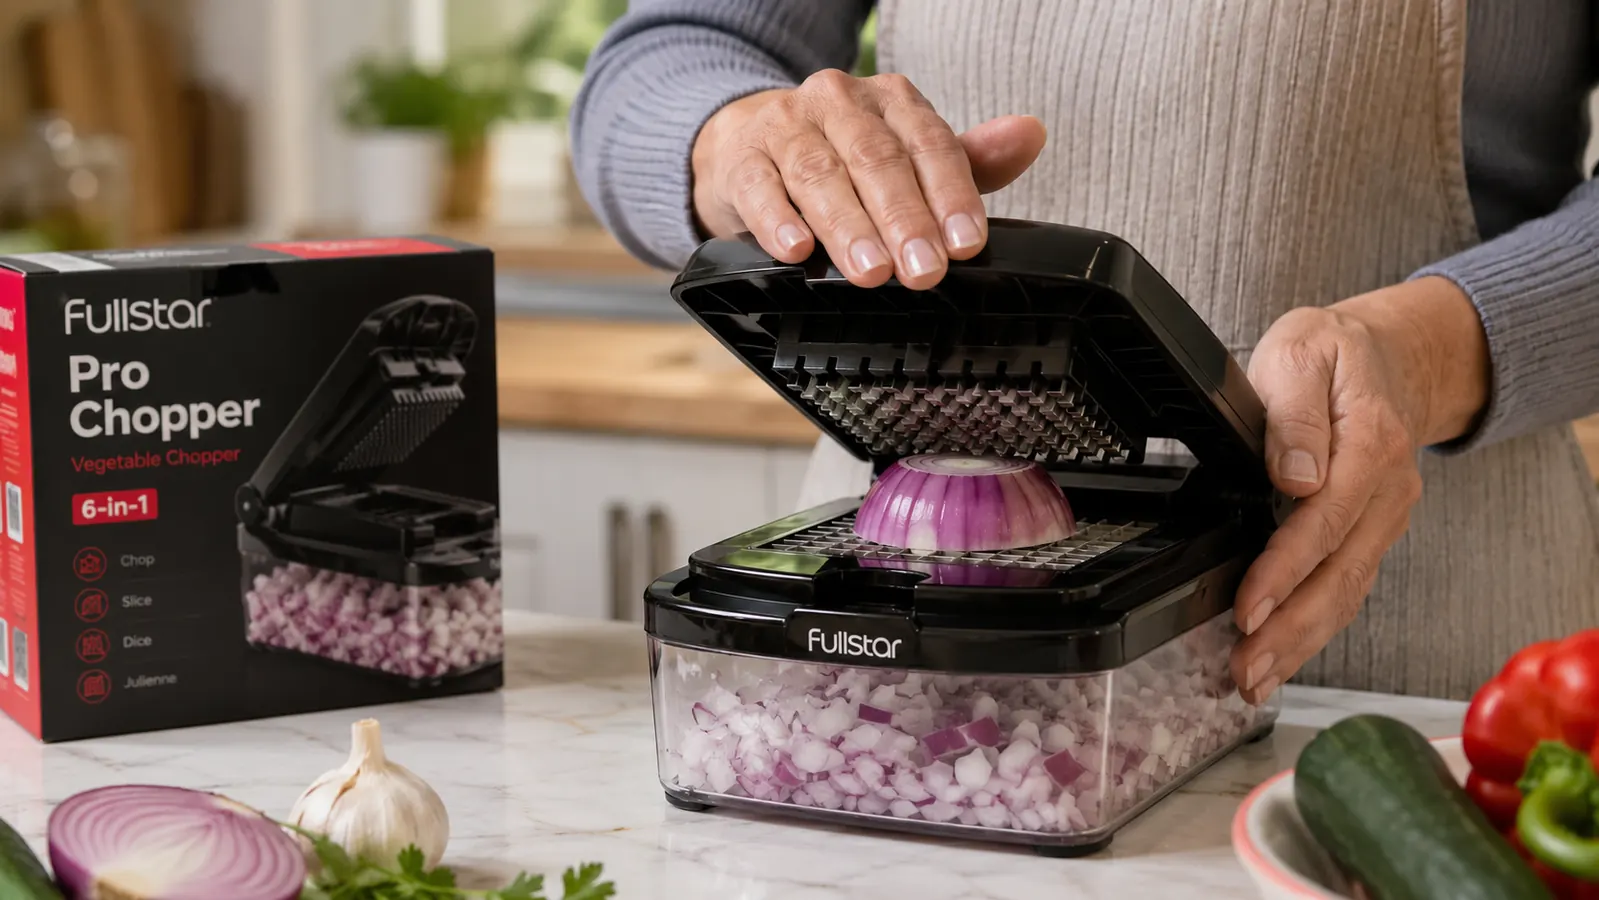
Place the onion half cut-face-down onto the blade grid. You want the flat side facing the blades, not the rounded dome. The flat face gives you consistent contact across the whole grid, which is what produces uniform pieces. Set it as centered as you can get it without fussing. Then place both palms on top of the lid and push straight down in one firm, even motion. Do not hesitate or use short choppy pressure. A single confident push cuts through a medium onion half in under two seconds.
That fast, single-push motion is the reason the chopper reduces tears. Your total face time near an open, cut onion is under ten seconds for both halves combined. Compare that to four or five minutes of knife work on a cutting board with the onion sitting right in front of you the whole time. The chopper does not eliminate the volatile compound that irritates eyes, it just minimizes your exposure window dramatically.
Step 4: Handle the Container and Repeat for the Second Half
After the first press, lift the lid assembly straight up. The diced onion will be in the container below. Brush any pieces clinging to the blade grid down into the container with your finger or a silicone spatula. The blade edges face down into the container, not up toward your fingers, so this is safe if you brush from the top of the grid to the bottom rather than running your finger along the blade edge. Reposition the second onion half and repeat the press. One medium onion, two presses, roughly ten seconds of active work.
The container on the Fullstar Pro Chopper holds roughly two cups of diced vegetables. For a standard soup or stir-fry, one medium onion fills it about halfway. If you are meal prepping several onions at once, empty the container into your prep bowl after every second onion so you have visibility into how much has accumulated. The container has measurement markings on the side, which is genuinely useful when a recipe calls for one cup diced rather than one whole onion.
One medium onion, two presses, ten seconds of active work. My eyes stay dry because I am barely in front of the thing long enough for the onion to do any damage.
Step 5: Apply the Same Technique to Peppers, Celery, and Harder Vegetables
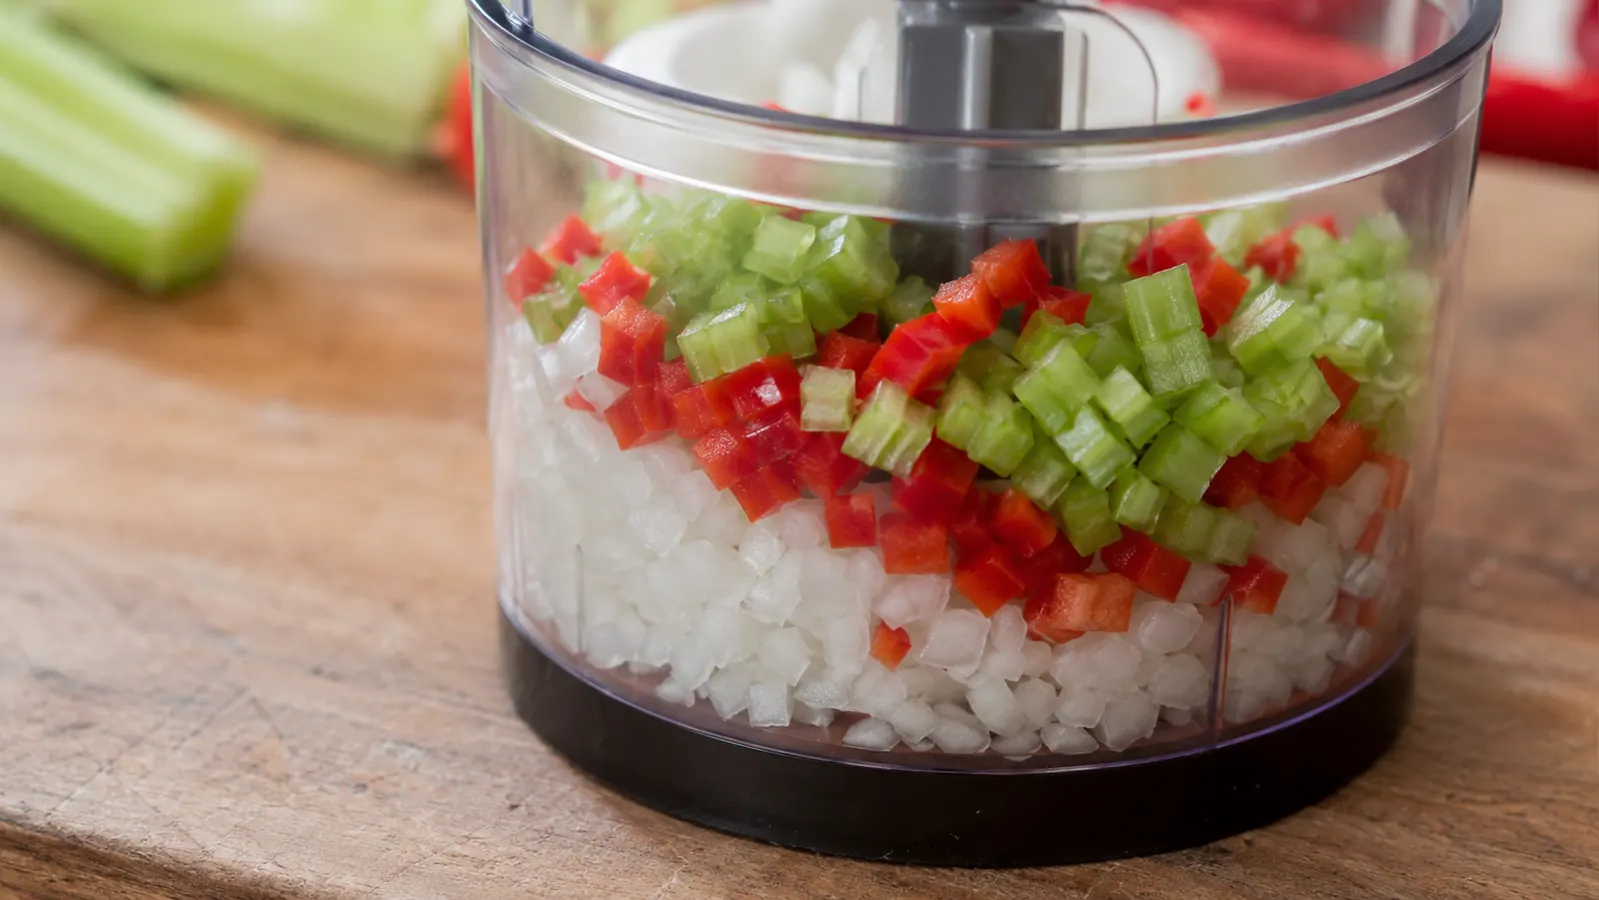
Once you have the onion technique down, every other aromatic is easier. Bell peppers should be halved and seeded first, then cut into sections that fit the blade grid opening. For celery, cut stalks into two-inch segments and stand them upright inside the grid before pressing. Harder vegetables like carrots need to be cut into thin rounds or planks first because a full carrot cross-section is too thick for a clean press. The rule is simple: if a vegetable piece is thicker than the blade grid housing, cut it down first.
Soft tomatoes and grapes are the one category I would skip with this chopper. Anything with very high water content and thin skin tends to squash rather than cut, and the juice makes a mess of the blade grid and container. For those, a knife is still the right tool. Everything else in the aromatic and firm vegetable category handles beautifully.
What Else Helps with Tear-Free Onion Prep
The chopper is the biggest variable. But a few supporting habits make the experience even better. First, sharp blades. The Fullstar Pro Chopper ships with blades that are sharp enough to do clean work right out of the box. When blades dull over time, they crush the onion cells rather than cutting through them cleanly, which releases more juice and more volatile compound into the air. If you notice your diced pieces getting ragged or wet-looking at the edges, the blades are probably starting to go. Replacement blade grids are available on Amazon, and swapping them is a 30-second job.
Second, ventilation. If your kitchen has a range hood, flip it on before you start. The fan draws air away from your face and vents the volatiles outside. No range hood? Open a window and work near it. The movement of air across the counter is enough to disperse the compounds before they reach eye level. Neither of these tips requires any extra equipment, just a small habit change.
Third, refrigerate your onions. I mentioned this earlier but it is worth repeating because it is the single most underrated tip for people who are particularly sensitive to onion fumes. A cold onion releases compounds more slowly, giving you a longer window before irritation starts. Keep a few onions in the bottom drawer of your fridge and pull one out right before you cook.
Cleanup: Two Minutes or Less
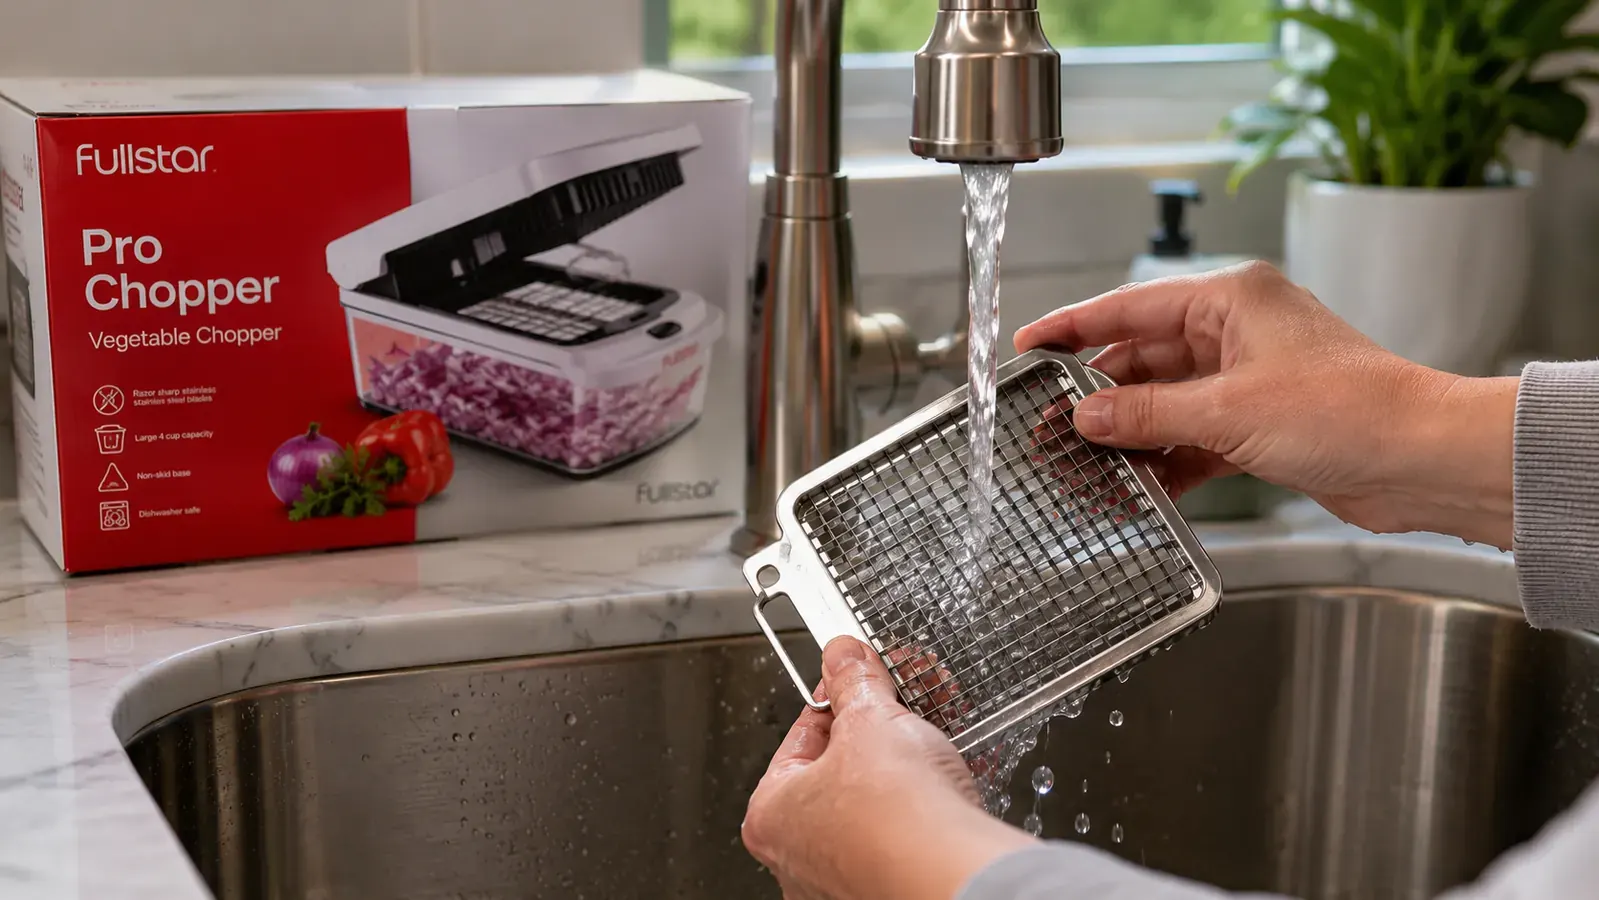
The Fullstar Pro Chopper disassembles into three pieces: the blade grid lid, the container, and the base plate. All three are dishwasher safe. On nights when I do not want to run the dishwasher, I rinse the container under warm water immediately after use (before the onion juice dries), then run the blade grid under the faucet while holding it from the edge rather than the face. A small scrub brush gets any pieces that stuck between the blade wires. The whole thing takes two minutes at the sink, which is about the same time it would take to wash a knife and cutting board anyway.
The one cleanup note worth flagging: do not let the blade grid sit in a bowl of water. The blades are stainless steel but prolonged soaking can dull the edge over time and potentially loosen the wire frame on lower-quality grids. Quick rinse and dry is the right move.
If you are already familiar with the Fullstar chopper and want a deeper look at how it holds up over months of daily use, the long-term review covers six months of real meal prep. And if you are trying to decide whether a food chopper is worth space in your cabinet at all, the breakdown of 10 ways a chopper cuts prep time walks through every task where it earns its keep, not just onions.
Internal links: see Fullstar Pro Chopper Review: What 6 Months of Meal Prep Taught Me and 10 Reasons a Food Chopper Cuts Your Prep Time in Half.
Ready to chop onions without the waterworks?
The Fullstar Pro Chopper has over 128,000 Amazon reviews and a 4.5-star rating because it actually does what it promises. One press, uniform dice, built-in container, dishwasher safe. Check today's price and see why it is one of the best-selling choppers on Amazon.
Amazon Check Today's Price on Amazon →